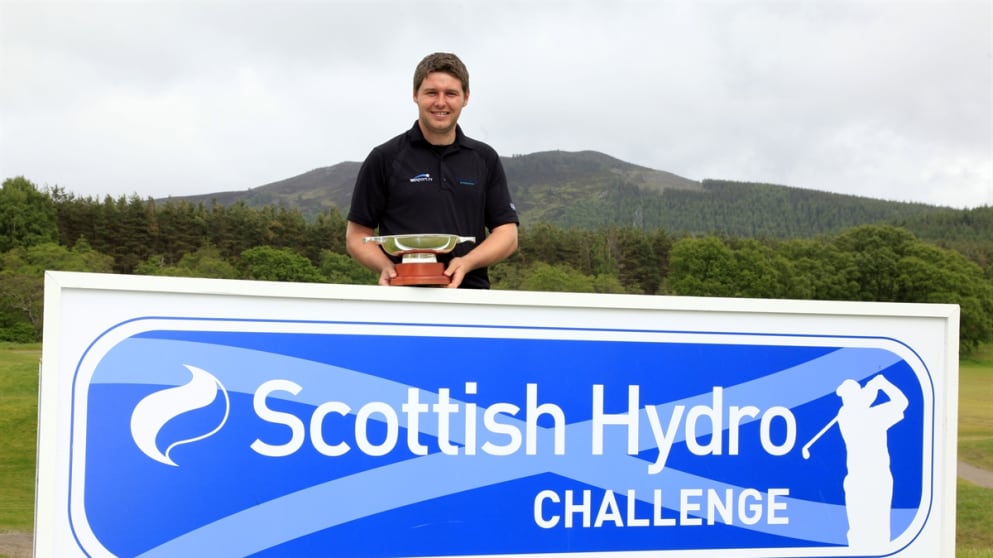
George Murray, who became the second home winner of the Scottish Hydro Challenge last year, guides you through the superb course at Macdonald Spey Valley Golf Club…
Hole 1:

Even though it’s only a short hole, you’re still better off taking a driver from the tee. If you manage to get your drive away well and find a decent position on the fairway, you’ll only have a short iron for your approach shot so you’ve got a decent chance of opening up with a birdie – especially if the pin’s on the left of the green, because that gives you the best line in.
Hole 2:
There’s out of the bounds on the right, so you have to keep your drive left. If the pin’s also on the left of the green then you can be left with a tricky approach, but if it’s on the right, you’ve got the ideal line in to a fairly flat surface.
Hole 3:
A long par four, this is the first really tough hole on the course. You have to hit over some fairway bunkers off the tee, which leaves you with a mid-iron to a green which slopes from left to right. So par’s your friend here.
Hole 4:
A long, tough par three where you always want to be below the hole if you can, because the green is very undulating.
Hole 5:
A tough par five, this is by far the longest hole on the course. You want to keep your drive left, although there’s a bunker there that you want to avoid. If you’re hitting into the wind, you’ve got no chance of reaching the green in two.
Hole 6:
A good par three, the key here is to stay away from the heather guarding the back of the green. So if you’re going to be anything, be short. It’s a really undulating green which slopes from left to right, so you’ve got to be careful.
Hole 7:
You’ve got two options here: either lay up short of the bunkers, or try to smash your driver over them. If you get your drive away well you’ve got a great chance of making birdie, but if you don’t there’s a real danger of dropping shots.
Hole 8:
Dogleg left, so the best strategy is to hit a three wood to the corner of the fairway, which will leave you with a nine iron a wedge into the green. There’s a bunker tight to the left of the green, but if you can avoid that it’s another birdie chance.
Hole 9:
The sensible play here is to take a four iron off the tee, so as long as you can avoid the tree to the left it will leave you with an ideal shot into the green, which slopes from back to front.
Hole 10:
A par three to a huge green, with a tree short of the green on the right which can come into play, especially if the pin’s on that side. So even though you’re probably only taking a seven iron, it’s probably a trickier hole than it first looks.
Hole 11:
You’re better off leaving your driver in the bag on this hole and laying up short of the bunker on the right. That leaves you a five or six iron to the green for your second shot, so it’s a very tough hole and par’s definitely a good score.
Hole 12:
This is a par five for the members, but only a par four for the pros so if you make par here, you’ve had a real result. It’s almost 500 yards long, so if the wind’s into you, you might not get there with two firm hits.
Hole 13:
A par five which doglegs to the left. If you decide to take the bunkers on with a driver, you can probably get on in two. But if take a three of five wood and avoid them by hitting it right, you’ve got a long way to go to reach the green. So it’s all about the tee shot here.
Hole 14:
It should be a fairly straightforward hole, but you’ve got to avoid the bunkers on the left. I sometimes struggle with my approach, because the front of the green slopes away quite sharply.
Hole 15:
There are bunkers all the way down the left of the fairway and water short of the green, so your best bet is to hit a rescue club, which will leave you a seven iron for your second shot. The green slopes from right to left, so if the pin’s on the left you want to play safe and aim for the middle of the green. There’s also more water on the right of the green, so you can run up a bit of a score here if you’re not careful
Hole 16:
A long par three, this is over 200 yards from the back tees, so I think I took a four iron. The green’s quite shallow with heather at the back, waiting to catch anything long.
Hole 17:
A par five with quite a tight tee shot if you take the driver, so it’s often safer to take an iron off the tee. You probably catch reach the green in two, but with only a wedge for your third shot, it’s still a decent chance to make birdie.
Hole 18:
There’s water on the right so your need to drive over the trees on the left, which will leave you a short-ish iron into the green for your second shot, so there’s a good chance of finishing with a birdie.


